
Penny Spinner Card


Never Ending card.
To make a 5 x 5” card.

1. Base is a simple a simple rectangle 5 x 2 1/2 inches. Cut four.
2 Then score down the middle, lengthwise. (1 1/4” down)
3. Measure in from the both edges 1 1/4 on each side and score all the way down on each end.

To glue and fold the card see the u tube video...cover pieces for each panel below. https://youtu.be/4vk8jisYbJ4

Panel 1 The some bunny loves you above is panel one. It’s six pieces to cover.
Or if you have a cricut..

Panel Two.

Total of eight pieces on panel 2.
Four 1" x 1"
Two 1" x 2 3/8"
Two 2 1/4" x 2 1/4"

Panel 3


Total of six panels
Four 1" x 1"
Two 1" x 2 3/8"
Panel 4 (same as panel 1, only sideways)

Now have fun decorating.
Rectangle Card with quote.

Card Making
Added a video on how to make a Penny Spinner card.

It uses the template further down.
Easter Waterfall Card

Easter Waterfall Card

A fillable template and full instructions are at the bottom.
Penny Spinner Card

A fun and easy card to make. Template and instructions below. As always if you have trouble with the template or instructions just email me or leave a post. Hugs, Lucine
Penny Spinner Card Template
How to video above waterfall card
*Note:: If template appears to large on your 8.5 x 11 inch page, reformat image to 300 dpi as that is what most of them are saved as.


(template with instructions below)
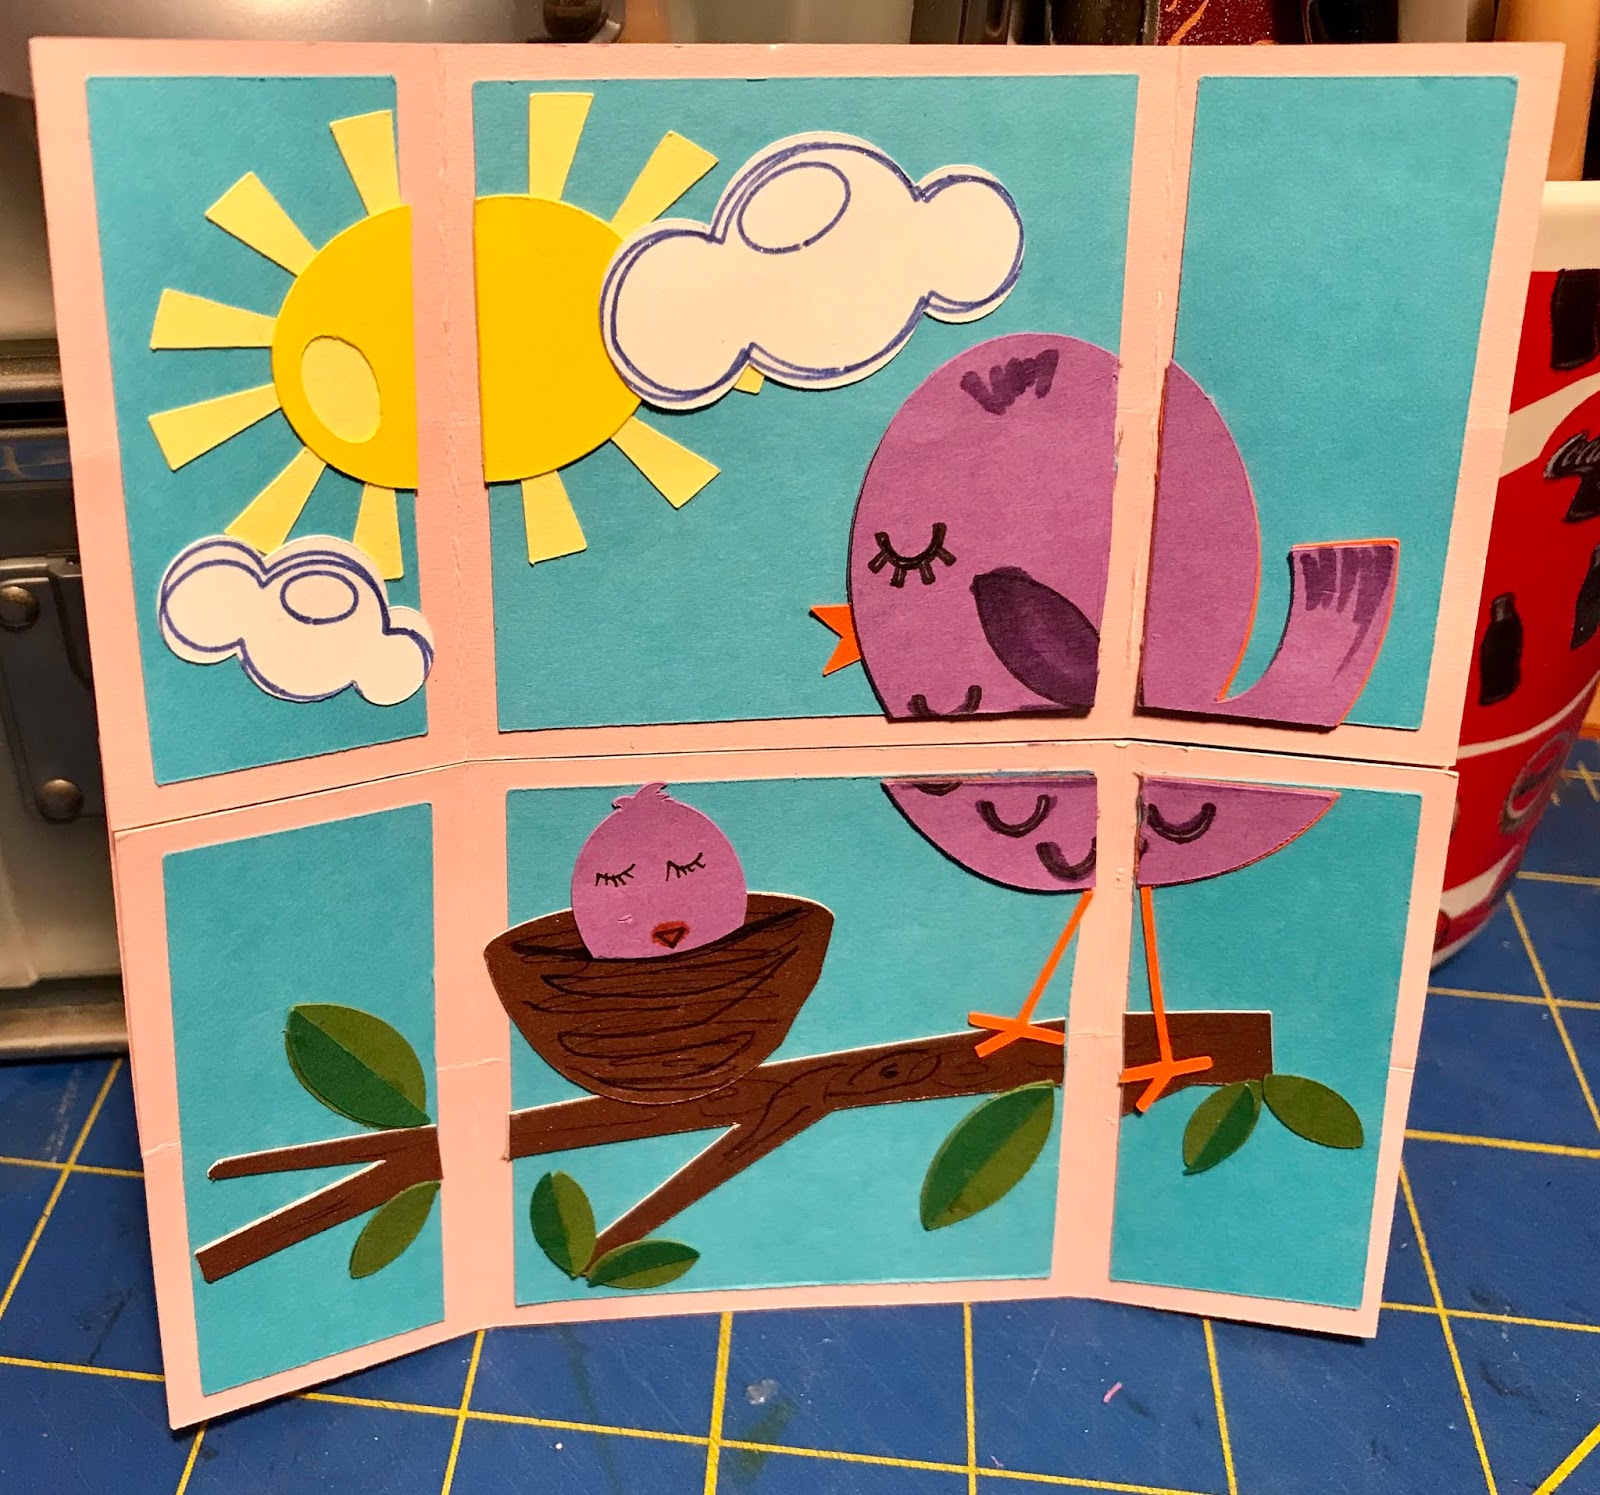
Peek a Boo Cards are fun to make and fun to play with. You pull on the side to show a hidden message. I made this St. Patty's Day card today. I am also inclosing instructions in case any one needs them.
This is the card Closed.


Peek a Boo Template
*Note:: If template appears to large on your 8.5 x 11 inch page, reformat image to 300 dpi as that is what most of them are saved as.

Waterfall Cards (or flip card)
Video, Template and Written Instructions Below

LLDsmith2@comcast.net
How to make a waterfall card video on left and
Fillable Waterfall (or flipcard) template below.
*Note:: If template appears to large on your 8.5 x 11 inch page, reformat image to 300 dpi as that is what most of them are saved as.

Below is the template to use if you are using plain cardstock to make you card if you want to decorate with stamps or stickers.

Keep going down for directions
Below is a card I made making the top layer of the flip card longer.
It still works just fine.

Instructions for A Waterfall Card
(Supplies: Card, Cardstock (1 piece doublesided), ruler, craft knife, double sided tape or glue stick, 1/8” punch and two brads - Optional paper punches- 2” punch, 2 1/2” punch, and a 3” punch (measurement is corner to corner),
1. Copy template and open on an 8 1/2” x 11” page.2. Fill template with desired papers and graphics. If you are going to decorate in some way other than computer graphics you will only need the main waterfall panel.
3. Print out exact size and cut out pieces. (I use punches to cut out my squares to make sure they are exactly the same size. A 2 1/2" punch makes a square that is 1 3/4" x 1 3/4").
Also from cardstock (double sided is best), punch out 4 squares (a 3" punch actually makes a square that is 2 1/8" x 2 1/8") which is a perfect size for the waterfall squares.

5. Center the waterfall panel to the card stock panel and put glue or tape on the bottom of the outside waterfall panel and on the side area. See Fig B. Do NOT glue waterfall panel down to back panel, it won't move if you do. This bar is the only thing keeping your waterfall on the card.
6. Place the bar over the tape or glued areas, press down.(Fig C) Punch holes in side area with a 1/8" punch and add brads. (Fig D)

7. Pull the waterfall panel down making sure it flows smoothly. Leave panel down with only the first fold line showing. (also Fig D). Put tape or glue in the dotted area and press down one of the large squares. Line up the top of the square exactly under the fold line. (Fig E).
8. Push up the Waterfall panel until the next fold line is at the top, glue or tape in marked area exactly as before and add next square. (Fig. F). Continue pushing up the next two panels and attaching squares.

9. Use the large squares to decorate the tops of the flip squares and the smaller ones to decorate the back. Words and/or messages also go well on the back side.
9. After panel is decorated you can matt if desired. I usually round off the edges and matt about 1/8 to 1/4 of an inch. Then mount to card. Below is a link to view my video on how to put the Waterfall card together.