I’ve been working on Valentine’s. So far mostly Iris fold…here are two photos of my last two….there are many different templates and the charts to use, here…more designs and methods coming soon.
https://lucinesstuff.blogspot.com/2021/12/


I’ve been working on Valentine’s. So far mostly Iris fold…here are two photos of my last two….there are many different templates and the charts to use, here…more designs and methods coming soon.
https://lucinesstuff.blogspot.com/2021/12/
Christmas was unusual this year…I worked on a lot of things but didn't get too many patterns made. Here’s a few projects…the scrapbooks are on my scraping mania blog. And the two cards are made from Cricut cards I already posted the blanks for either here or on my Lucine Stuff card blog.. https://lucinesstuff.blogspot.com/2020/10/tag-slider-card-with-cricut.html


Bunny Iris fold card.This card was folded with the printed out strips provided...I used card-stock for this. So rather than fold the thicker card, I inked the edges to give a bit more dimension.How to make this card.Click (or press and hold) on the image to save to your device. The cut image of the bunny is a png file so you can upload it to a cutting machine, if desired, with no clean up.Step one.Open the pieces in your computer drawing program, or your cutting machine’s design screen.Like so.. if you are uploading into a Cricut or other machine, upload the bunny silhouette as a cut only file, upload all the others, including the diagram, as a print and cut file...if you plan on using your own paper you won’t even need to upload the paper stripsThe first thing is to make sure the size of the bunny, and it’s fold pattern, match each other in size.So flip the bunny silhouette (horizontally) drag it over the pattern and adjust if needed...hopefully none will be necessary.It’s time to decide on what size you wish to make your bunny. Mine is on a 4.25 x 5.5 inch pre-made card...and it’s best if thinly matted so I’m going to cut mine somewhat less then 4 inches. To size, select both cards (or group them) so they both size together and use the ruler or grid marks to size it....Then it’s very important to flip the bunny back...the cut out silhouette and pattern should be nose to nose..
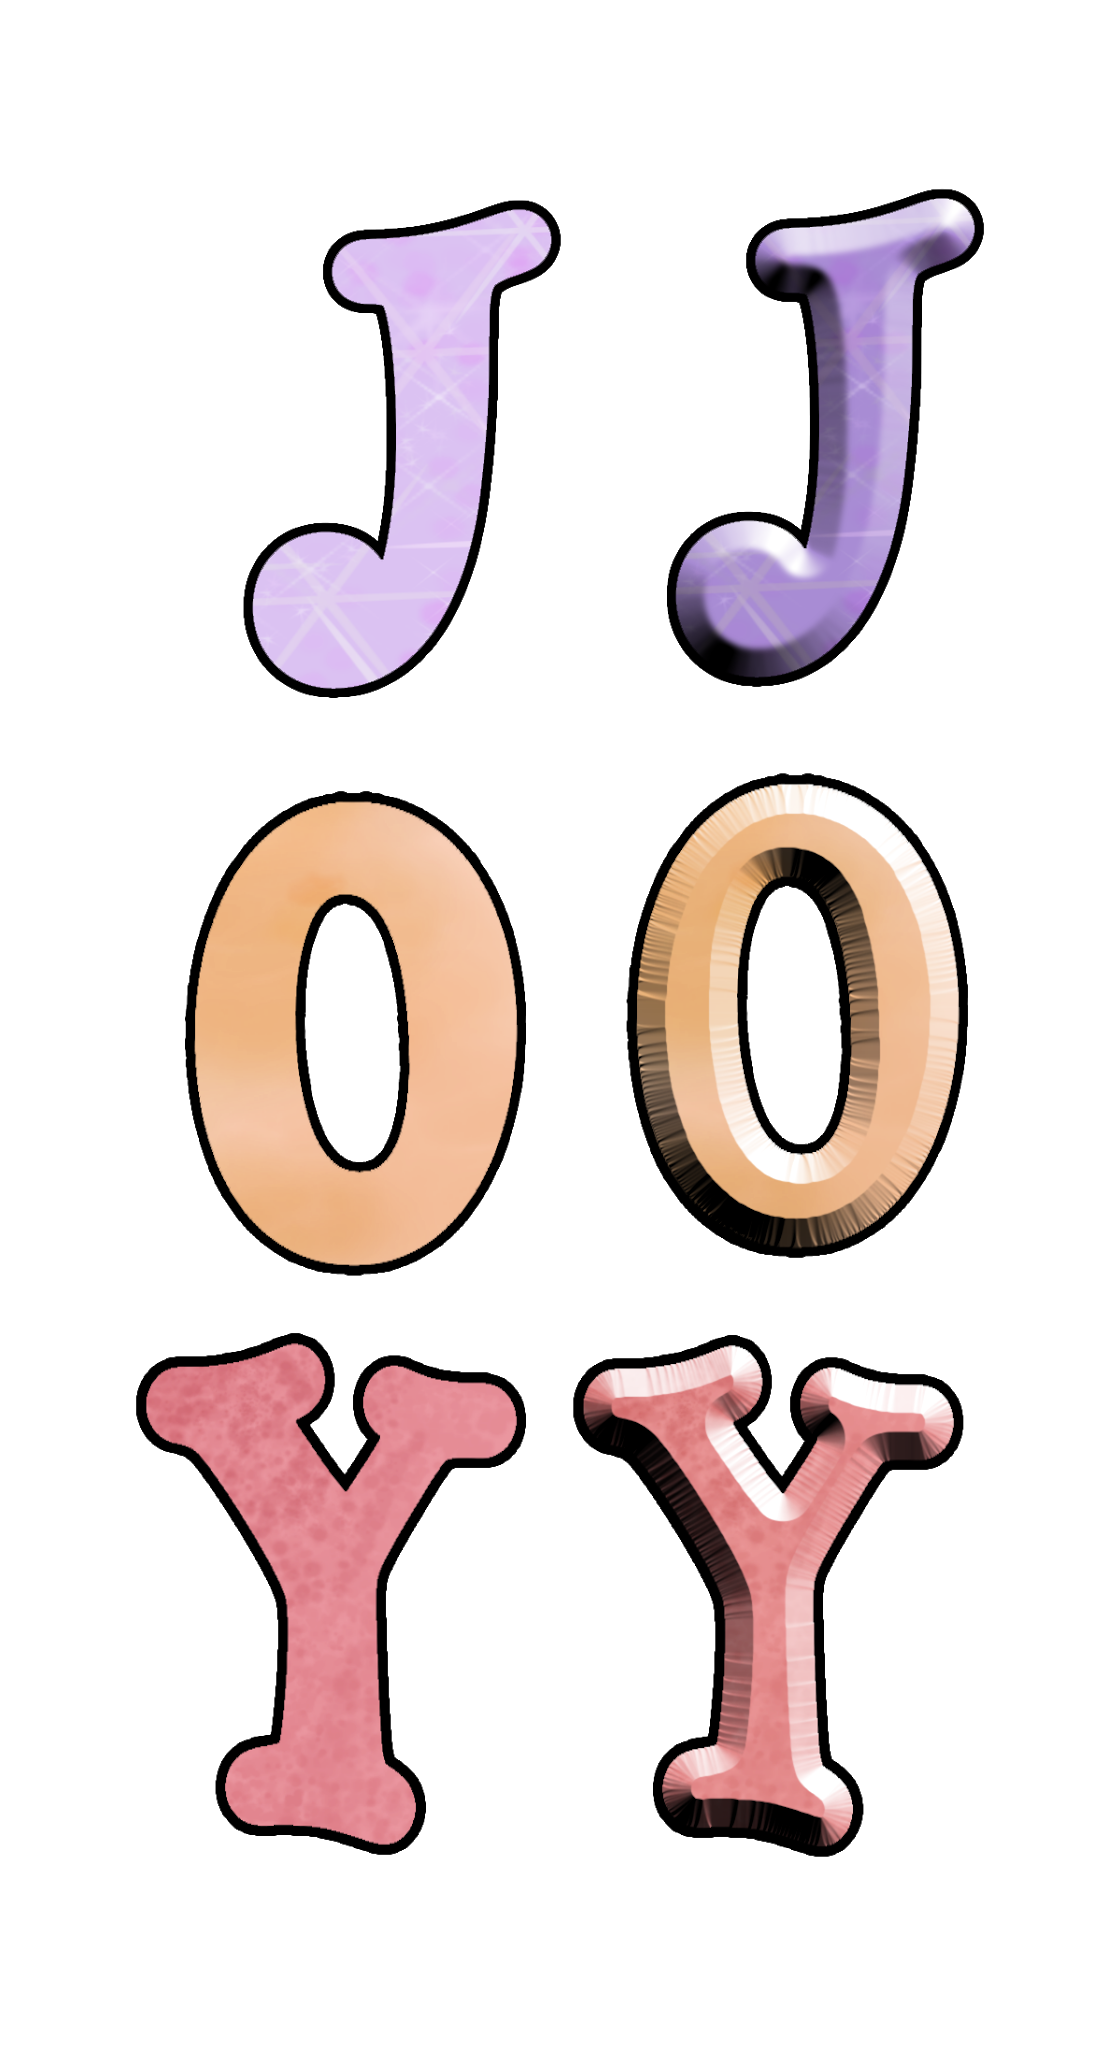
If you are using the printable paper strips from card stock, like I did, you will need to cut one set 9 inches long....(sized for cutting print and cut), you will need TWO sets if you are going to print and fold using paper.The matching Joy letters can be sized however you choose.Now, print and cut the images...if you are using a cutting machine cut the bunny, print and cut the rest..Fold it..to do the design, center the bunny,down on the pattern and hinge it with one piece of tape at the top..If you need more basic instructions on Iris folding there are several on you tube...mine is here.To use the pre-designed strips in paper, just proceed as normal Iris fold, one set you might also cut in half, length wise, for the smaller pieces.
For using card-stock paper strips, use an ink pad (I usually use walnut, black, gold, or silver) and ink both sides of the four strips and then cut them right down the middle. You might notice that the pattern numbers match the color of the paper for ease in picking the correct strip to use. When in doubt, the hinge lets you peek.
A tape tip..I pull a couple inches out and leave it on the tape dispenser and cut a tiny piece off as I go...

Once the design is finished use pop dots to mat, then tape or glue the items to your card..

I also used the left over bunnies to make a card.